

How to show Tweets in crawled posts
Tweets... They are everywhere. When sent by an influential person, a 280-char post can go so viral such that the site you crawl can include the Tweet in one of its posts. But, how do you show that Tweet in your WordPress site? We will see how to do that in this article.
A Tweet, i.e. a post created on Twitter, contains more information than just a 280-char text. It can have likes, replies, images, videos, and links as well. Among these, likes and replies can change any time. So, just copying a Tweet with its current state and pasting it into your site is not enough to capture the future changes. Twitter's solution to this problem is embedding. A Tweet's embed code contains just the basic information about a Tweet, such as the text content, publish date, name and username of the owner of the Tweet, and a link to the Tweet. An example embed code, retrieved from publish.twitter.com can be seen below:
1 2 3 4 5<blockquote class="twitter-tweet"> <p lang="en" dir="ltr">Oh the irony lol</p>— Elon Musk (@elonmusk) <a href="https://twitter.com/elonmusk/status/1546980241494745100?ref_src=twsrc%5Etfw">July 12, 2022</a> </blockquote> <script async src="https://platform.twitter.com/widgets.js" charset="utf-8"></script>
The code above also contains a script element. This script takes care of styling the Tweet, as well as retrieving
the dynamic parts and media, such as likes, replies, links, images, and videos, from Twitter. To understand what the
script does, let's see the Tweet before and after the script is executed. Here is before:

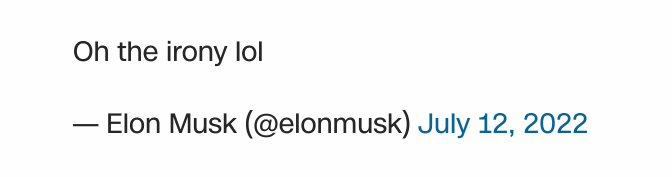
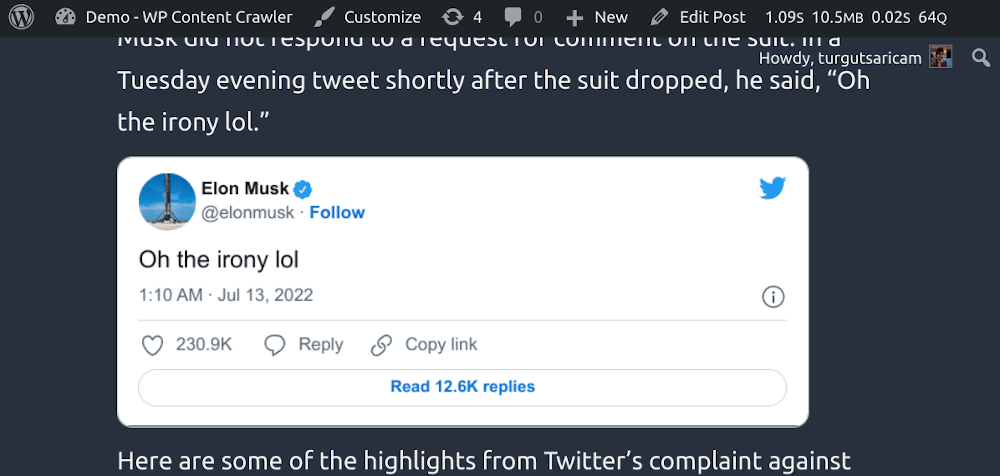
Here is the same Tweet after the script does its job:

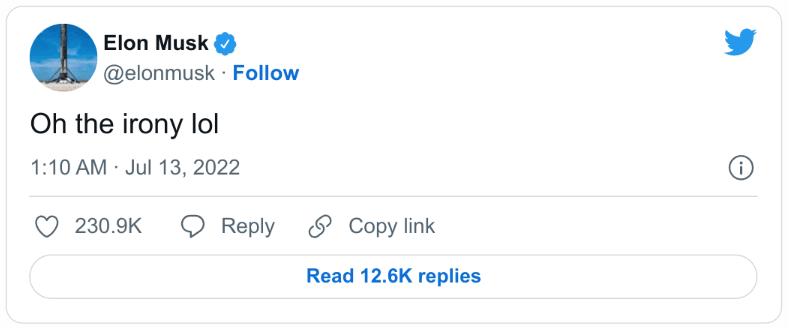
So, the script is the part that renders the Tweet, and we need to add that script into our WordPress post. However,
WordPress does not like script elements in the post content, because these elements pose a security risk. One needs to
be careful about what scripts are executed in their website. For example, a bad actor's script can steal the cookies
of the users. Then, the bad actor can use them to log into your site. If an admin account's cookies are stolen, the bad
actor can log in as an admin. So, we need to include only the scripts we trust in our website. The rest of this post
assumes that you trust Twitter's script code.
We are going to crawl this news article from CNN via WP Content Crawler. If you do not have the plugin, you can use the demo to follow the steps below. OK! Let's get started.
1. Create a new site


Create a new site by clicking to "Content Crawler > Add New" link from the admin panel's sidebar,
write CNN as the name of the site, and enter https://edition.cnn.com/ as the Site URL.
2. Enter a category URL

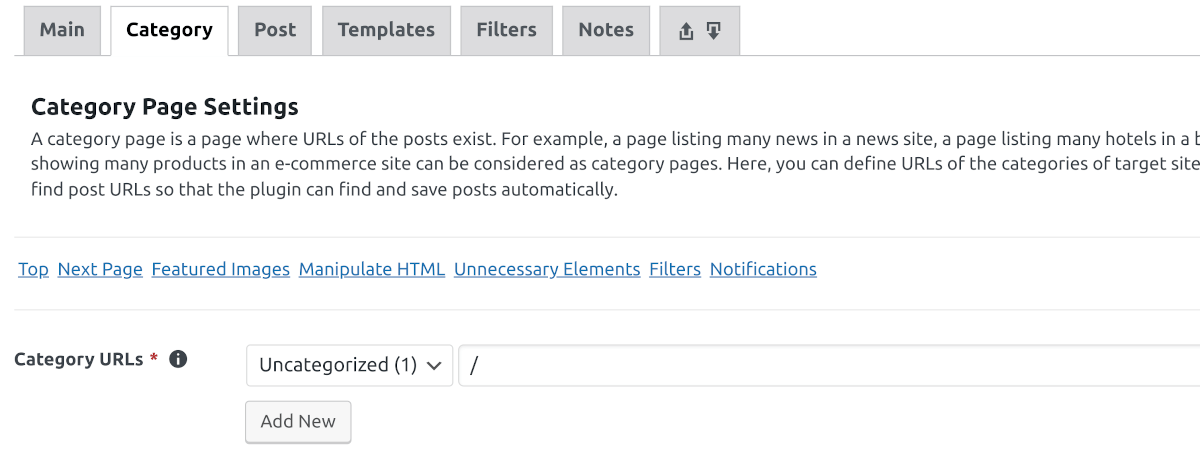
Enter "/" into "Category Tab > Category URLs" setting. Because we will not crawl the post URLs from the category pages in this guide, and the plugin requires this setting to be filled, we enter a dummy URL to trick the plugin.
3. Enter a test post URL

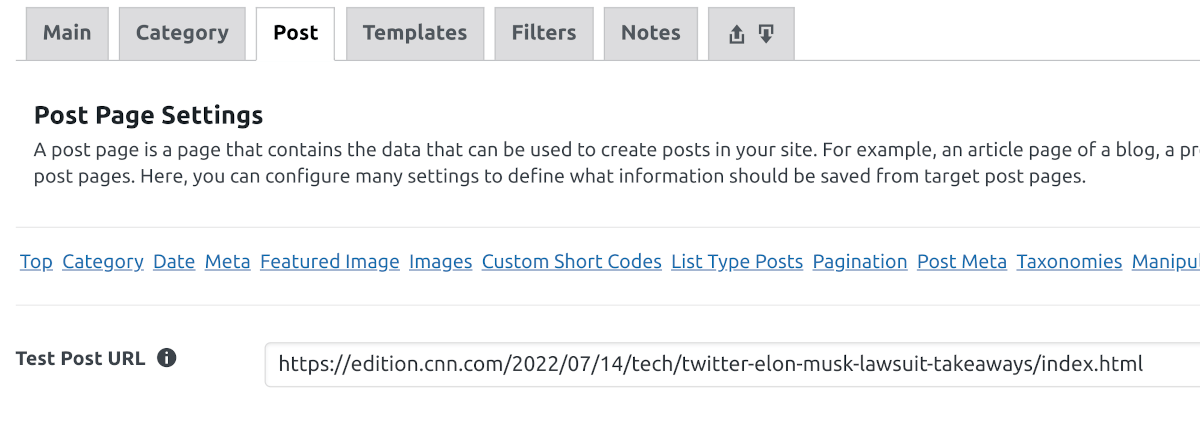
Enter the URL of the post that contains the tweet into "Post Tab > Test Post URL" setting. By this way, we will be able to quickly test our settings. You can copy the URL below:
1https://edition.cnn.com/2022/07/14/tech/twitter-elon-musk-lawsuit-takeaways/index.html
4. Find the post title

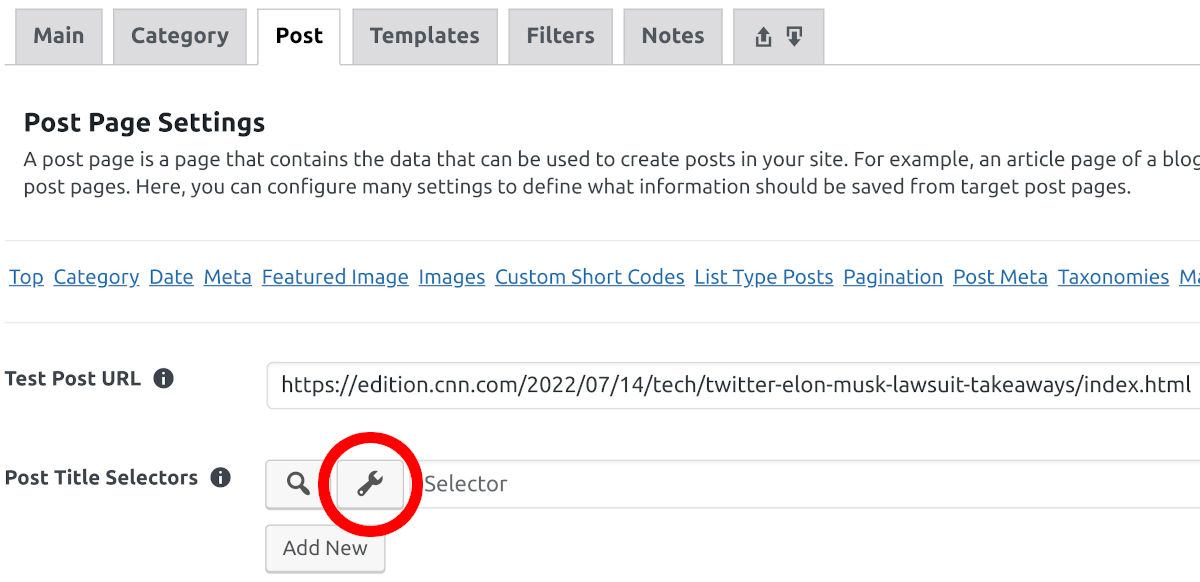
First, open the visual inspector for Post Title Selectors setting by clicking to its wrench icon.

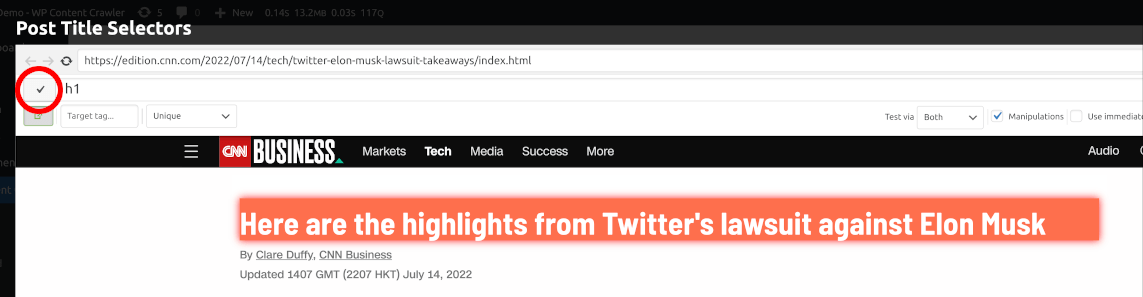
Then, wait for the post page to be loaded and click to the title of the post in the visual inspector,
as shown in the screenshot above. After that, click to the check icon to use the found CSS selector.
The check icon's location is shown with a red circle above. Also, you can see that the CSS selector found by
the plugin is h1.
5. Find the post content

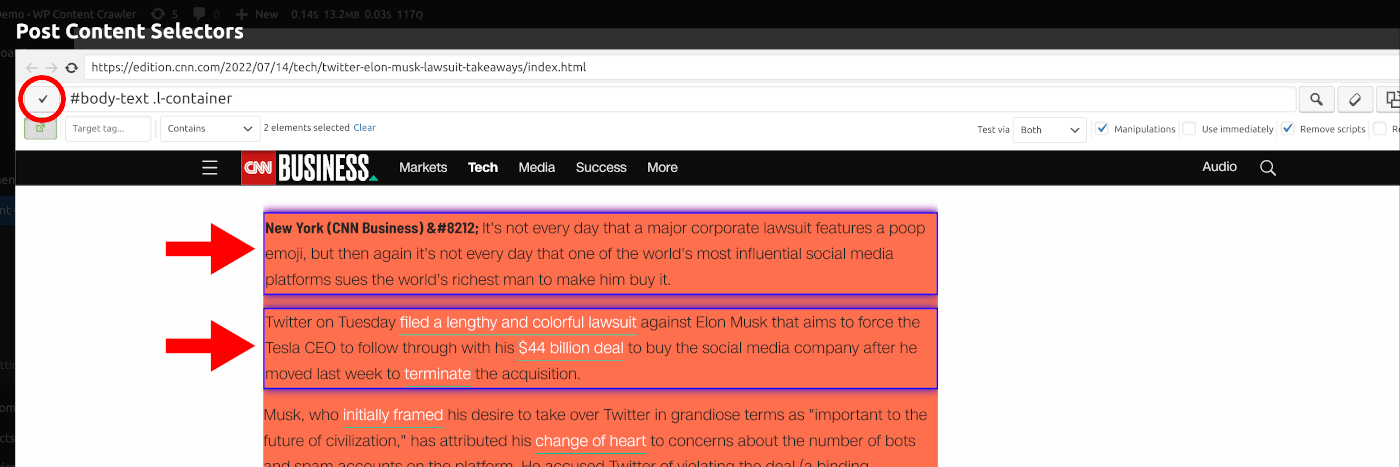
Now, let's find the post content as well. Open the visual inspector for Post Content Selectors setting by clicking to its wrench icon. Then, click to the first two paragraphs of the news article, as shown in the image above. The plugin will find a CSS selector for the element that contains the two paragraphs you clicked. If the red area does not contain all the content, you can click other parts that you want to be in the post content. The plugin finds the element that contains all the clicked elements. After you are done, click to the check icon, as shown with a red circle in the image above.

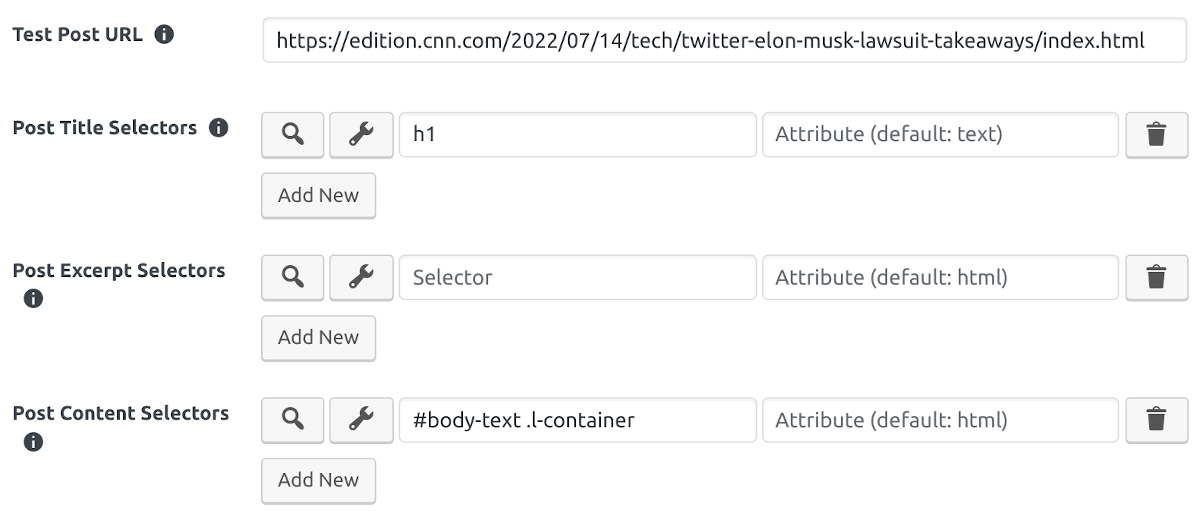
The image above shows all the settings we configured so far.
6. Remove unwanted elements

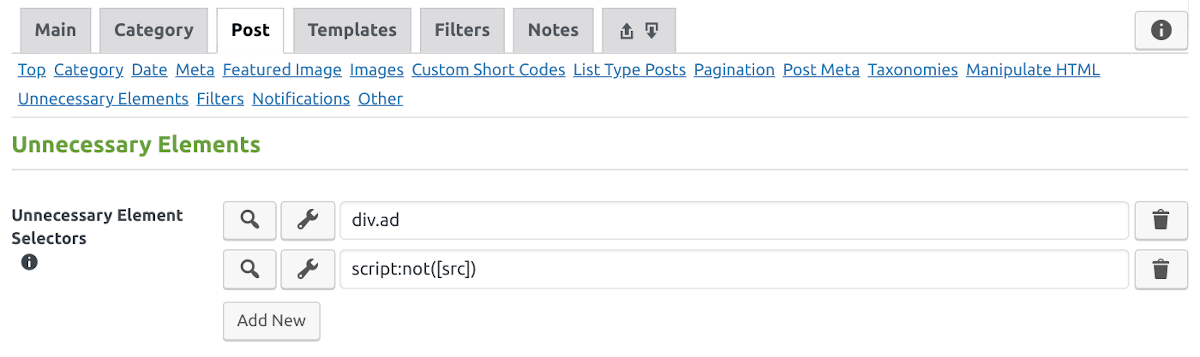
We do not want to retrieve the script elements that do not have an src attribute. We also do not want the
advertisements. Remove the unwanted scripts and advertisements by entering their CSS selectors to "Post Tab > Unnecessary Element Selectors" setting.
div.ad selector finds the elements that show advertisements in the target page. script:not([src]) selector
finds the script elements that do not have an src attribute. We do not want those scripts. We also do not
trust them. So, let's just remove them altogether.
7. Convert scripts into short code

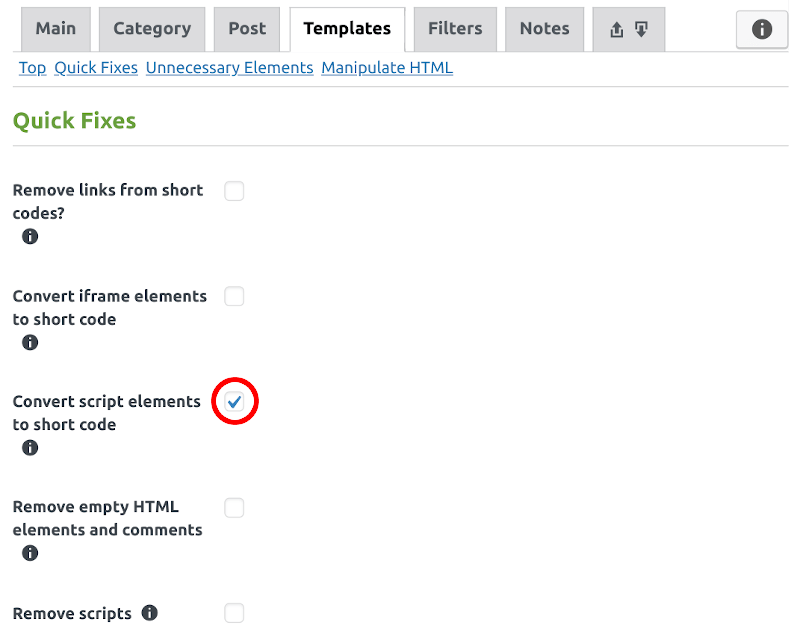
Because WordPress does not like script elements to be in the post content, we will use a custom short code
that WP Content Crawler provides, which is [wpcc-script] short code. To convert all the script elements into this
short code, mark the checkbox of "Templates Tab > Quick Fixes Section > Convert script elements to short code" setting.
8. Publish the site settings

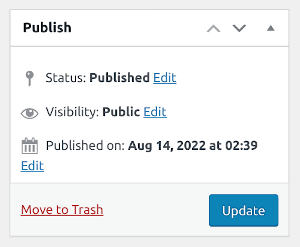
Now that we are done with the site settings,
publish or update the settings by clicking to "Publish" or "Update" button. If you
already published the settings, Update button will be available. Otherwise, Publish button will be
available.
9. Test the site settings

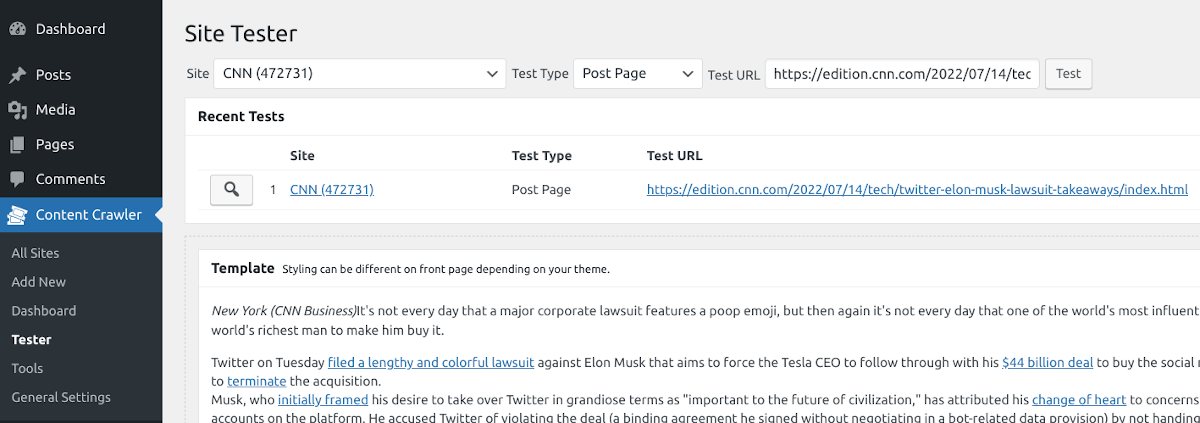
Click to "Content Crawler > Tester" from the admin panel's sidebar to open the Tester
page. For "Site" option, select the site you just configured.
The "Test Type" should be "Post Page", because we will be testing a news article which
can be considered as a post page. For the "Test URL", enter the URL of the news article.
You can copy it below:
1https://edition.cnn.com/2022/07/14/tech/twitter-elon-musk-lawsuit-takeaways/index.html

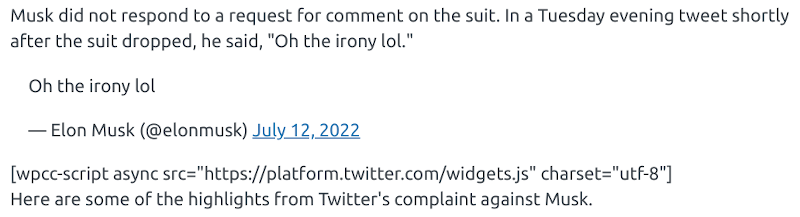
When you observe the Template part of the test results, you can see that there is a [wpcc-script] short
code. The test results do not render the short codes. So, we cannot see the rendered Tweet in the test results.
Since we can see the short code, everything is on track so far.
10. Allow scripts from Twitter

Because we do not trust every script from every website, we want to control the scripts that we execute in our
site. [wpcc-script] short code only executes the scripts whose source is from an allowed domain. So, we need
to configure the plugin to allow the scripts from Twitter.
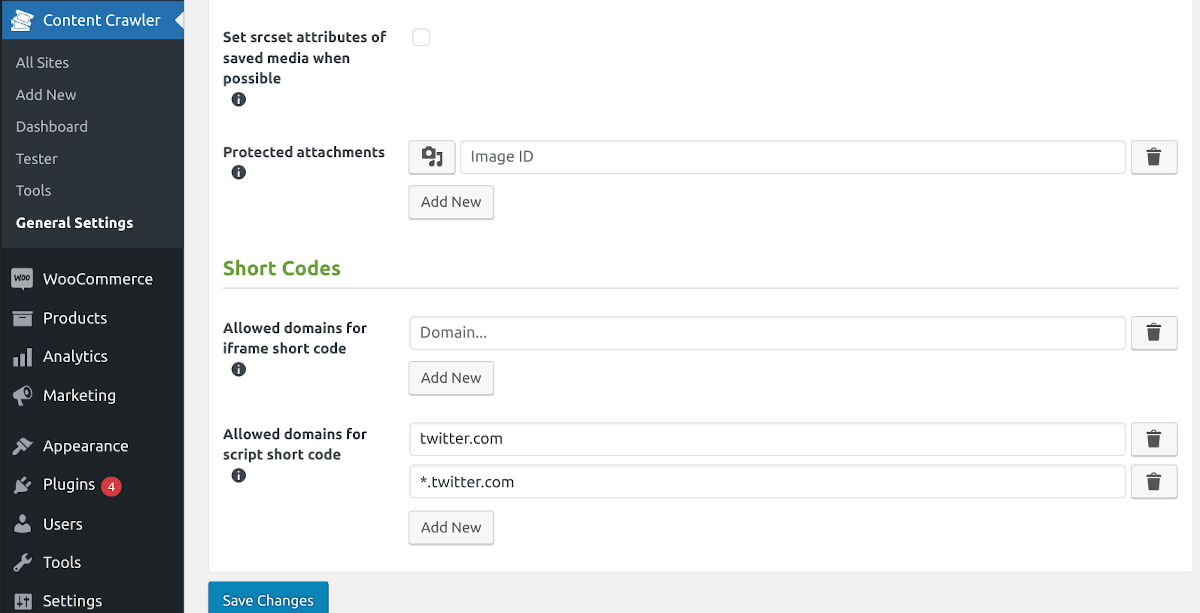
Click to "Content Crawler > General Settings" from the sidebar of the admin panel.
Go to "Post Tab > Short Codes Section > Allowed domains for script short code" setting.
We will add two values. Add "twitter.com" to allow scripts from Twitter's main domain.
Add "*.twitter.com" to allow scripts from all the subdomains of Twitter. Because the
script we want to execute comes from platform.twitter.com, we have to allow the subdomains. After entering
these two values, save the general settings.
11. Manually crawl a post for testing

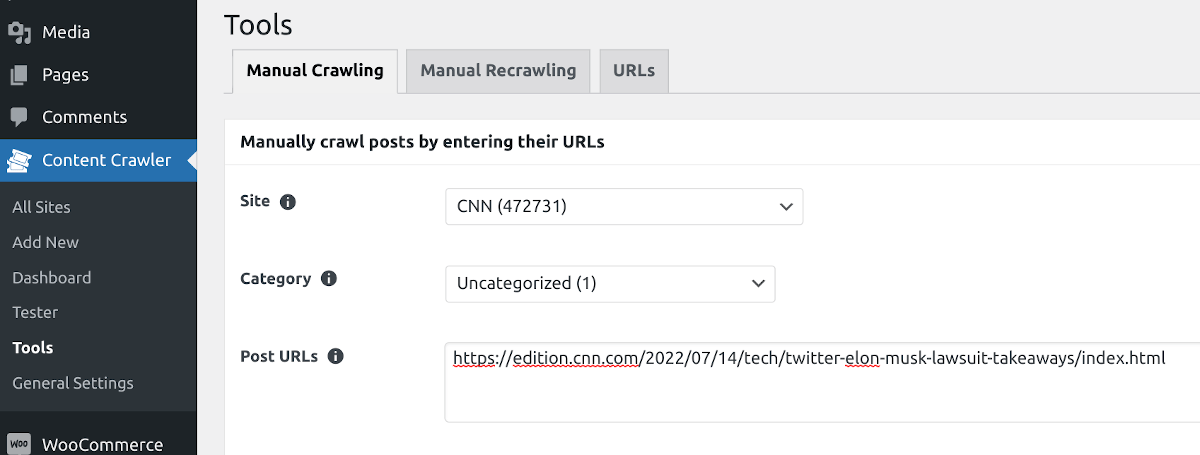
Let's save the news article manually, to make sure everything works as expected. Click to "Content Crawler > Tools" from the sidebar of the admin panel and enable "Manual Crawling" tab. For "Site" option, select the site you just configured. Select any post category you want for the "Category" option. Enter the URL of the news article into "Post URLs" option. You can copy it below:
1https://edition.cnn.com/2022/07/14/tech/twitter-elon-musk-lawsuit-takeaways/index.html
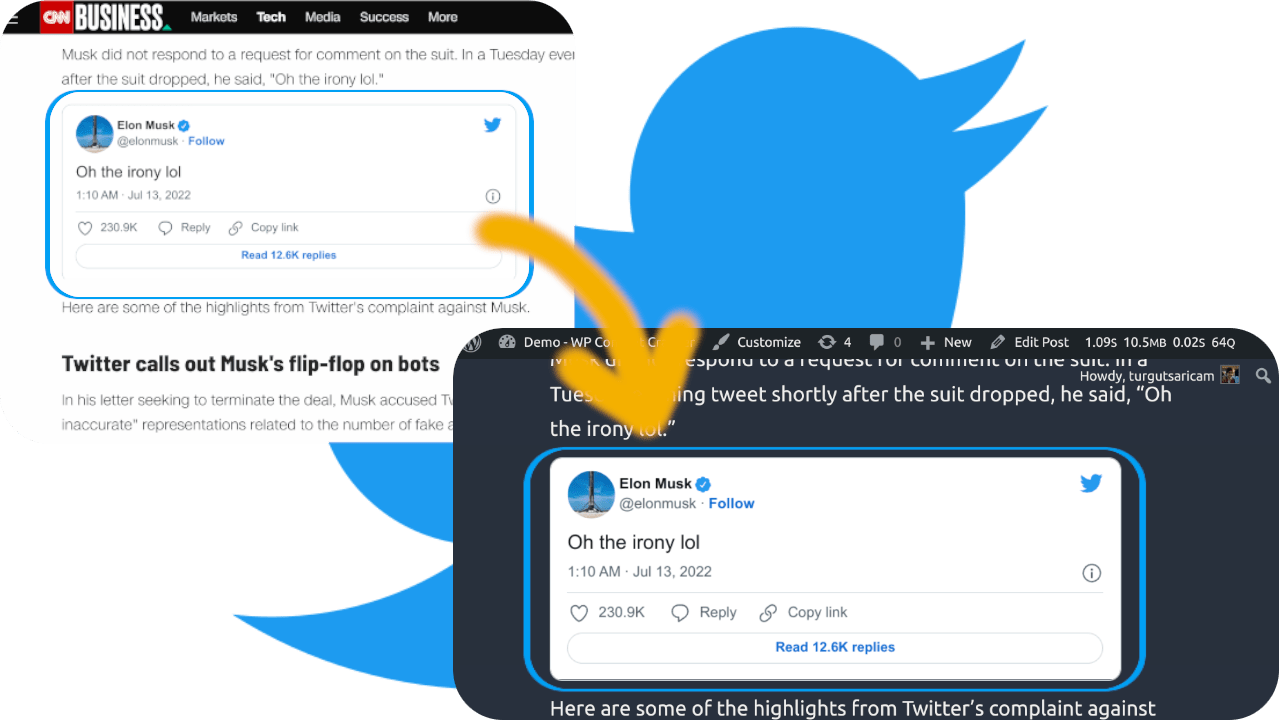
Finally, click to "Crawl now" button. The plugin will save the news article into your website according to the settings you configured. Click to the post URL shown after the crawling is complete and observe the rendered Tweet.

The image above displays the Tweet embedded into the post. Your site's visitors can now interact with the Tweet. From now on, for the site you configured, the plugin will render all the Tweets found in the post content by including the script that handles the rendering of the Tweets.
Conclusion
We covered quite a few things in this post. Actually, once you configure the general settings to allow the scripts
from Twitter, showing the Tweets for other sites is as simple as checking a single checkbox.
Thanks for reading!